For non-integrated partner that you have connected yourself, you can set up macros as follows:

Partner's own parameters (for example, clickid=, offer_id=) will not be automatically added to tracking links if not used in postbacks.
For more details, refer to the Postback parameters section.
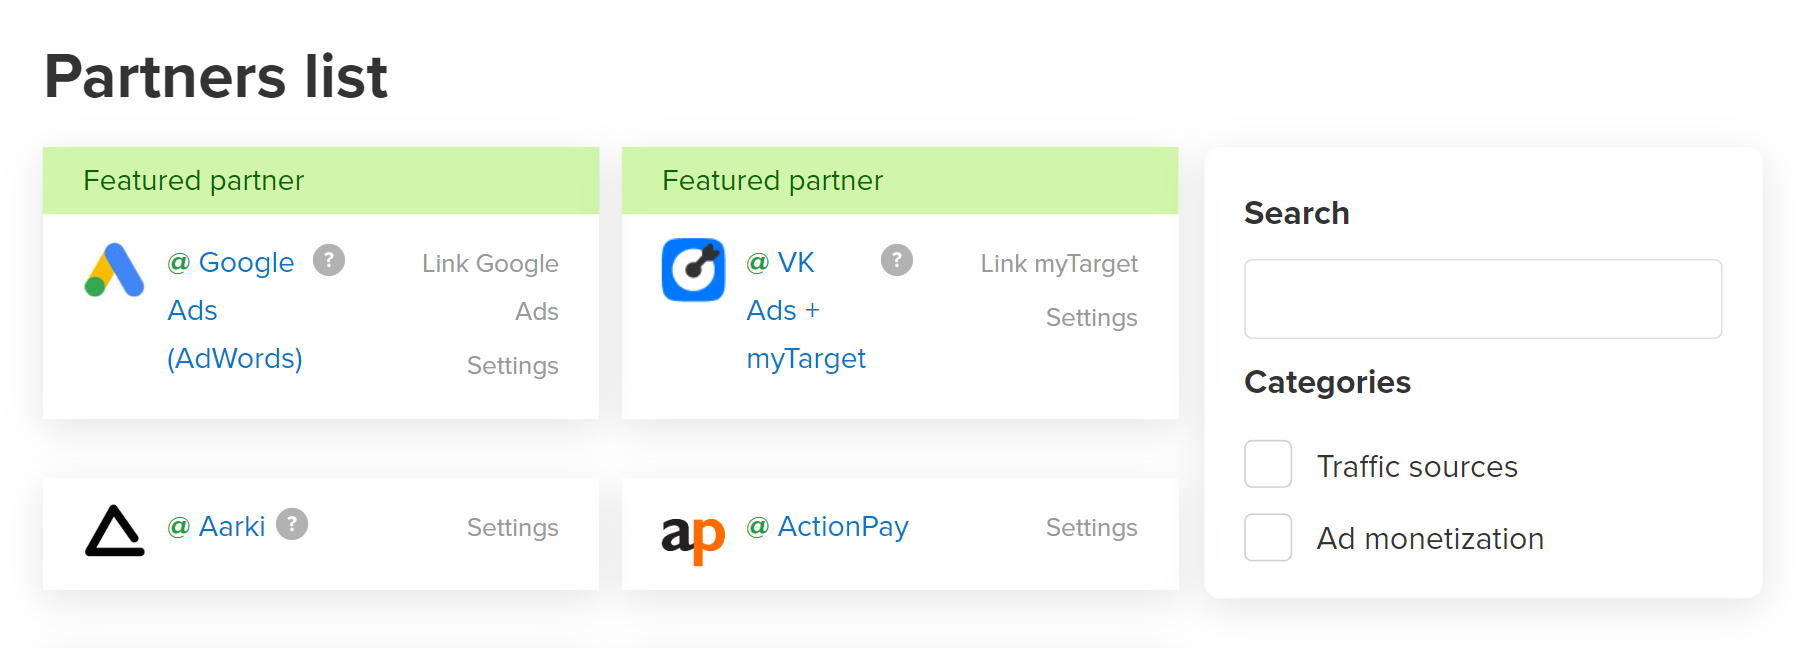
We recommend adding to the SubID parameters those partner macros that match the meaning of the parameter names. As an example, you can see which macros with which SubID are passed by integrated partners, indicated by the symbol .
For example, your partner has provided you with the following information:
%%IDFA%% macro%%OFFER%% macroThis means that you need to fill the Macros form as follows.
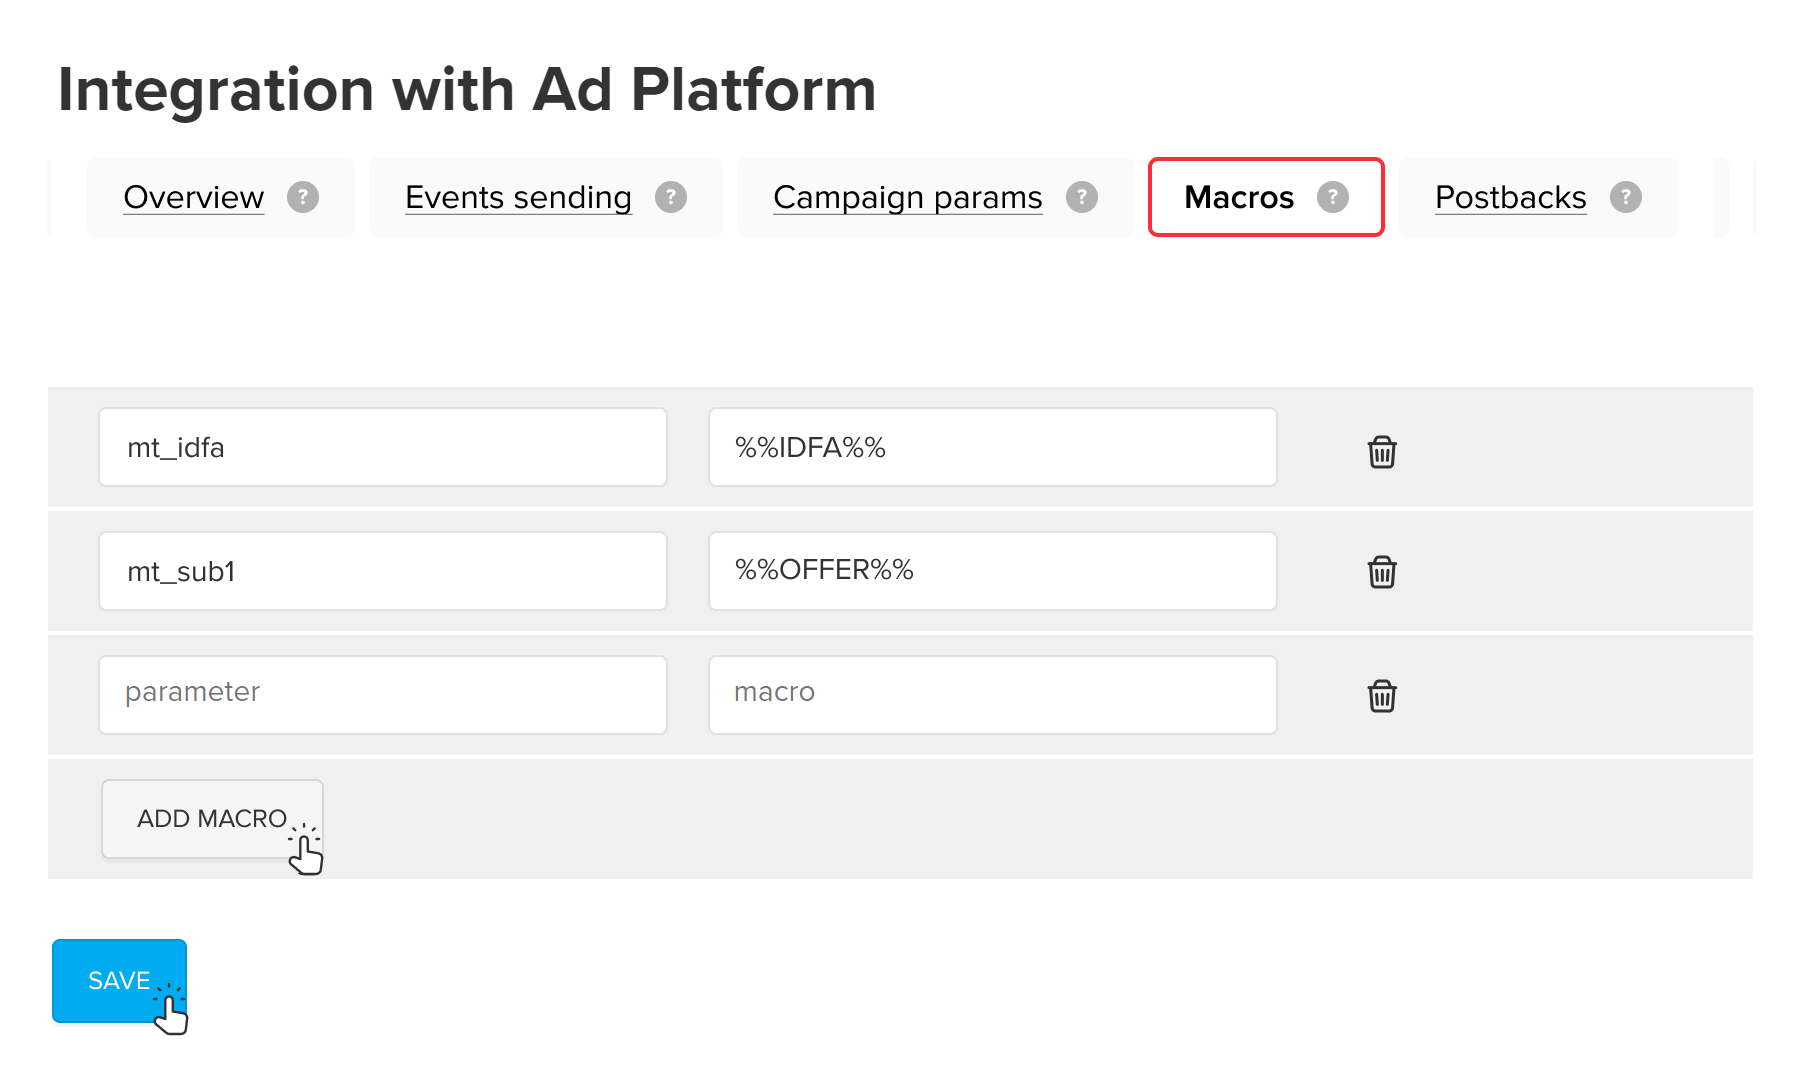
As a result, all tracking links for the partner will include the specified replacements. And the already created links will be updated automatically.
For example, the URL templates on the tracking link view page shown below:
https://trk.mail.ru/c/a12345/?mt_idfa={idfa}&mt_sub1={sub1}
will be modified as follows:
https://trk.mail.ru/c/a12345/?mt_idfa=%%IDFA%%&mt_sub1=%%OFFER%%
This makes replacing familiar macro markers,
such as %%IDFA%% , with specific values an easy job for your partner.