var _tmr = window._tmr || (window._tmr = []);
 _tmr.push({ type: 'setUserID', userid: "UserID" });
Install the web counter code on all pages of your site.
You need to place the code inside the HEAD or BODY block as close to the top of the page as possible.
You can place the code manually, use Google Tag Manager, or use the official plugin for WordPress, 1C-Bitrix, Joomla, or OpenCart.
Copy the code from the Web counter application tab:

Set the UserID parameter to track user stats, not only device.
It's a unique user identifier in the project,
that should remain unchanged even when user switch devices.
The parameter allows you to estimate the size and activity of the user base, regardless of the number of user devices.
Also, you can keep your customer data consistent if a user changes a device.
For details, see the User tracking section.
It's essential to set the parameter before tracking goals
to pass user identifier with every goal.
Use the _tmr.push raw to install the UserID:
var _tmr = window._tmr || (window._tmr = []);
_tmr.push({ type: 'setUserID', userid: "UserID" });To turn off the user tracking, delete UserID:
var _tmr = window._tmr || (window._tmr = []);
 _tmr.push({ type: 'deleteUserID' });
We recommend installing UserID as described above.
But if there are several counters on the web page, you can pass UserID as a separate parameter in the _tmr.push row:
var _tmr = window._tmr || (window._tmr = []);
_tmr.push({id: "counter ID",  type: "pageView", start: (new Date()).getTime(), userid: "UserID" })
If UserID was set to the application with an existing registered users,
MyTracker cannot calculate exact Lifetime metrics without first visit date.
For pre-registered users, Lifetime stats will be counted on the date of the first tracked event with UserID (first pageview or goal).
To track user activity on your website, configure the goal sending using JavaScript methods. Write a script that detects the goal achievement and sends data on it to the server.
Do not mistake Goals for Events when it comes to Top Mail.Ru.
Goals correspond to events in MyTracker, including registrations, authorizations, and custom events.
Events, e.g. scroll depth and page errors, are not gathered by the tracker.
You can send goals via S2S API as well
To track user registration, place the counter code at the beginning of your page,
and at the time of registration send the goal mt_registration using JavaScript code:
_tmr.push({ id: 'counter ID', type: 'reachGoal', goal: 'mt_registration', userid: 'UserID' });
To track user authorization, place the counter code at the beginning of your page,
and at the time of authorization send the goal mt_login using JavaScript code:
_tmr.push({ id: 'counter ID', type: 'reachGoal', goal: 'mt_login', userid: 'UserID' });To track any event with a custom name, place the counter code at the beginning of your page, and at the time of event execute the following JavaScript code:
_tmr.push({ id: 'counter ID', type: 'reachGoal', goal: 'customEvent' });The name of the goal for custom events must consist of Latin letters or numbers. We recommend you to name the goal exactly as it's called in your mobile SDK. This will simplify the analysis of data getting from different platforms.
You can get a ready-to-use code in the Top Mail.Ru, see details in section Events from javascript. To send an app version, the parameters and value of custom events, you need to modify the code as described below.
You can send goal parameters with custom events.
For example, for the "Order" event it can be an order id, terms of delivery, etc.
Use the params field:
var EventParams = { logged: true, ... };
_tmr.push({ id: 'counter ID', type: 'reachGoal', goal: 'customEvent', params: EventParams });
As a param value, you can send any JavaScript object with one nesting level.
You can pass parameters of custom events, but not registration and login params
You can set any Value weight for custom events.
You can send value for any custom event, it does not have to be financial. For example, achieving a certain game level can be more important to you than social networking in a game, as it indicates the interest of a user. Therefore, for such a custom event, you can set a higher value.
To send goal value, use the field value:
var _tmr = window._tmr || (window._tmr = []);
_tmr.push({ id: "counter ID", type: "reachGoal", goal: "customEvent", value: 50 });
Currently, you can get value stats through Raw API.
You can pass the value of custom events, but not registration and login value
With each goal, you can send the app version parameter. For example, if you need to group stats by SAP versions and run a/b test.
To send the app version, use the field version:
var _tmr = window._tmr || (window._tmr = []);
_tmr.push({ id: "ID счётчика", type: "reachGoal", goal: "customEvent", version: "1.2.3-rc4" });The web counter can send some events to MyTracker automatically, not requiring you to add additional code to the website. To track events, turn on the option in the MyTracker interface:
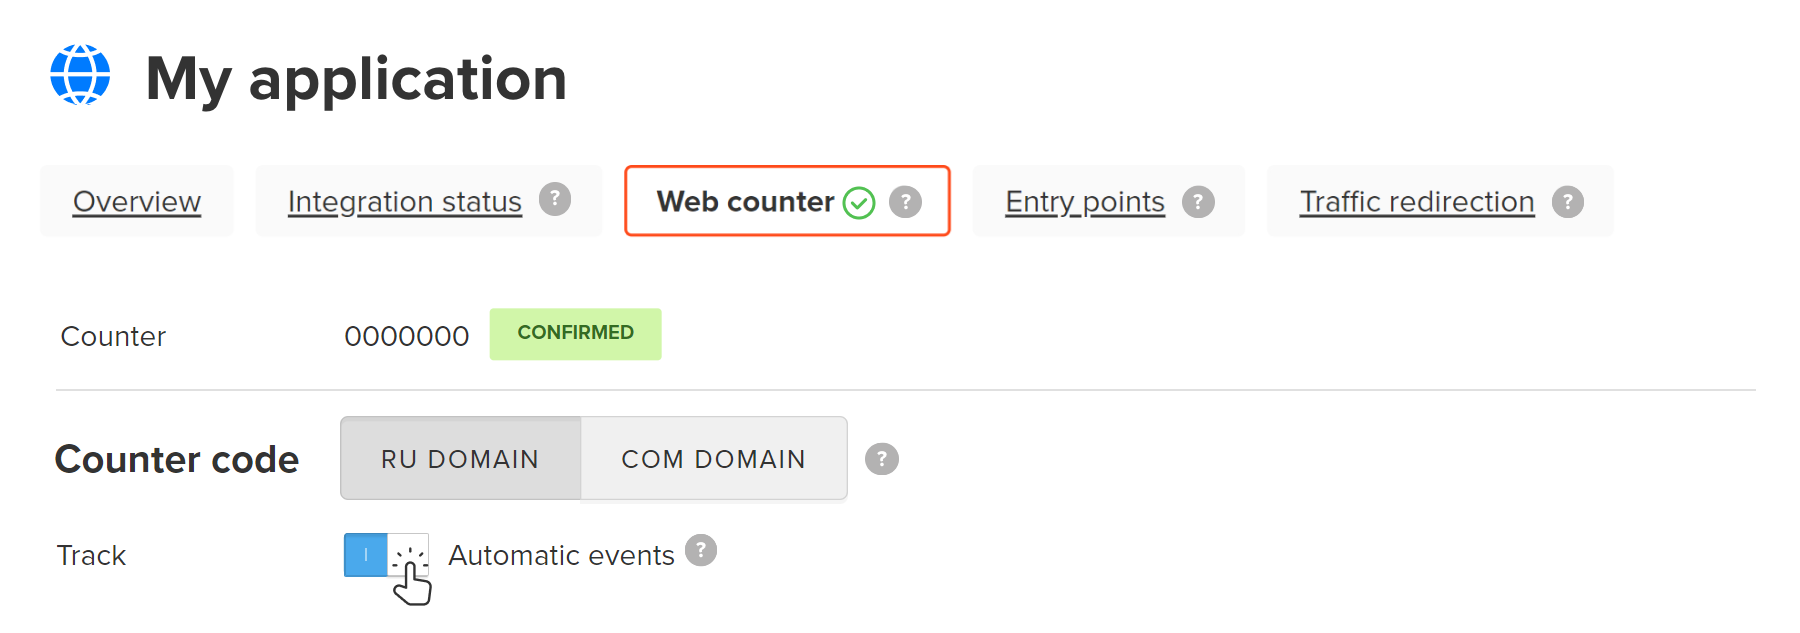
If the toggle is ON, the counter automatically tracks the following events:
It might take up to four hours for the tracking to start or stop after you toggle.
To analyze the collected data, use the "Automatic event name" dimension, the "Automatic events" metric, and the same name filter. For details, refer to the Web tracking section.
If your website is an online store or any other e-commerce service, you can enable the Ecommerce events tracking: order placement, adding a product, full or partial payment of the order, canceling and refunding.
To collect data, you need to add additional code to your site and mark up events. For the instruction, refer to the Ecommerce section.
You can use the S2S API to send data to MyTracker. For example, to send offline events or untraceable counter data.
To send data from your server to MyTracker, you might need a special device identifiers — lvid. It's essential to collect lvid
as soon as possible and send identifiers to your server
if you use this ID for work with S2S API.
You can use UserID instead of lvid,
but in this case, S2S data will generate stats only on users,
but not on devices. Learn more
You can get lvid through a special javascript code:
_tmr.getClientID();
The getClientID method is only available
after loading the counter on the page.
Therefore, we recommend using the callback function,
which will call methods only when the load is complete.
var _tmr = window._tmr || (window._tmr = []);
_tmr.push({
    type:     'onready',
    callback: function() {
        tmrLvid = _tmr.getClientID();
        /* here is your code for sending lvid to the server */
    }
});
Regardless of the javascript code used, the identifier will be sent if the user's browser does not have an ad blocker, and the counter had time to load before the user left the page
To track pageviews from the regions where the VK services are not available, use the alternative CDN — switch the counter code to COM domain.
For details, refer to the Alternative CDN section